
This review will talk about the pros and cons of the Husky HDW20 cryptocurrency hardware wallet. The Husky HDW20 is a USB-powered device that keeps your private key secure, and you can use it with an Android or iOS phone by downloading the app from Google Play or Apple Store, respectively. Keep reading to determine if this crypto wallet is worth owning.
Hardware Review
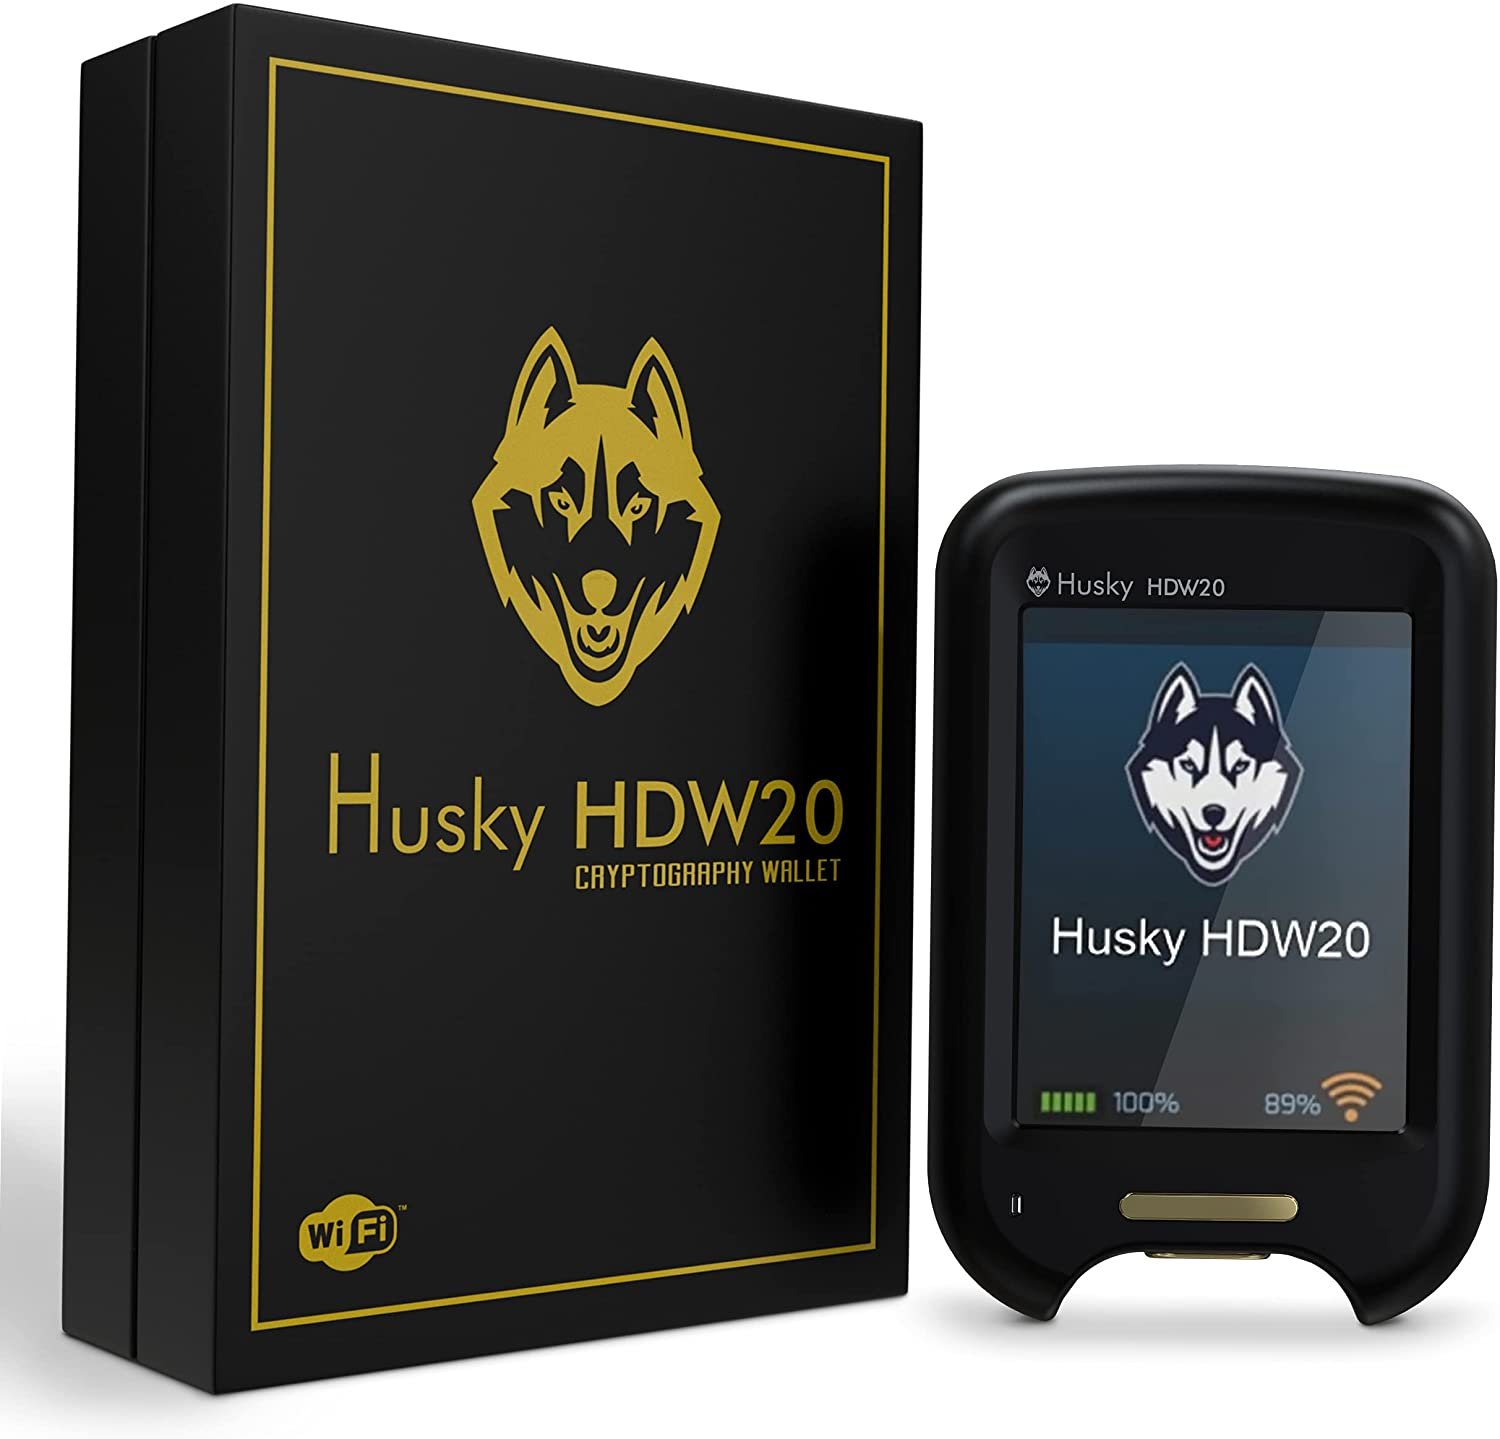
The HDW20 comes with the device, a USB-C connection to your laptop, a backup paper to write down your recovery phrase, and a product specification sheet. The device connects to the Husky software via wifi and features a rich-color, 2.8-inch LED touch screen.
The HDW20 comes uncharged, so you’ll need to keep it plugged into the desktop for it to charge. When the device has a sufficient charge, you can press and hold the middle button until the green light changes to blue, then tap the screen to turn it on. This device might not work with other USB cords, so you will need to keep the one that came with it.
Their keyboard interface is comparable to a flip phone from the 1990s, where you must scroll through letters and pick the correct one. Arrows on the keypad are used to switch lower and uppercase letters, numbers, and symbols.
Opinion
You need to charge your device before turning it on, but that is not stated in the instructions when you open the packaging. There is no power button on the device itself, and this might confuse a beginner.
The size and design of the device are both excellent. It’s tiny enough to fit in your pocket but not small enough to hide in your wallet. Letters are large and visible, so you won’t have to squint or suffer eye strain while reading them (which can be a problem with hardware wallets).
Activate and Setup Review
When I initially switch it on, I have to configure the network settings. The SSID is requested. I try connecting, but it doesn’t work (as shown by the red line crossing the wifi signal while “huskywallet.com” displays on the screen) because my typing name isn’t in lower-case. I try again by selecting the icon, then clicking the NEW button. This time, I made sure that the case was identical to that of the SSID name.
Once I’m connected to the wifi network, the words on the screen change from “huskywallet.com” to “Go to http://192.168.1.117“. Once I go to the URL in my web browser, it redirects me to https://www.huskywallet.com/downloads/. On the page, I have a choice of downloading different versions of the Husky software. There are Windows, macOS, iOS, Android, and Linux variants. I proceed with downloading and installing the Windows version.
After starting the installation program, a series of window prompts explain how Bitcoin works, and I click the green button to scroll through them. Then I’m prompted to enter my email address to receive notification of payments. I could easily bypass this step, but I want to receive a fund transfer notification to my email address–to see the experience. I have to check a series of checkboxes that confirm my comprehension of Bitcoin and that money is stored on my Husky device, not by the firm.
Then I’m prompted to establish a new wallet. When I click the choice, I’m prompted to input the IP address of the device. Then I click “Test.” I get a message that says the Husky device is connected, but nothing happens after that. I then click the “Save” button.
The next screen offers me two options: create a personal wallet or import an existing wallet. I choose to make a personal wallet. I have the option of giving the wallet a name and then choosing among three more advanced optional settings:
- Wallet key: The choices are “Random” and “Specify Recovery Phrase.” There’s no explanation of what happens if you select the latter option, so I keep it at “Random.”
- Testnet: I can move the slider to activate Bitcoin’s testnet network, an option that is useful for developers.
- Single address: Stop the Husky device from generating multiple Bitcoin public addresses.
Once I complete this step, I’m asked whether I want to create a PIN. I select yes, and then the Husky device asks me to confirm if I want to create a new wallet. After I do, I’m prompted to enter a new PIN. The numeric keypad shows numbers in random order. When I have to confirm the PINs, the numbers change to a different order. However, after entering my PIN, a notice appears in the program stating that the device could not alter the PIN. When repeating the process, I get the same results. So, on the third try, I opt not to create a PIN.
When I finish the activation process, it takes me to my wallet balance, making all transaction capabilities choosable.
Opinion
I think the setup process for the wifi settings is too manual. You need to type in the full SSID name instead of choosing it (a case-sensitive pre-warning would be helpful). This wouldn’t be a big deal if the keyboard had a QWERTY layout, but the flip-phone keypad interface is too intensive and lengthy. Plus, I don’t know why a wifi connection is necessary unless it’s a lazy way to avoid more programming. Also, most wallet setups show the seed phrase during initialization, but Husky’s process doesn’t show it until after setup.
Transaction Review
Because Husky HDW20 is a Bitcoin-only wallet, you can only use it to send and receive Bitcoins.
When you click “Receive,” a message appears asking you to write down your seed recovery phrase. The recovery phrase backup begins after you click through a series of questions to understand why you should safeguard your seed phrase. The Husky device’s screen warns you not to store your seed phrase on the Internet, after which it displays your recovery seed. To scroll through the list of words, glide your thumb up and down the screen. When you’ve finished recording the phrases, hold down the green button to confirm. Then you must complete a three-question survey to ensure that you recorded the seed phrase correctly. A QR code will appear on the desktop screen, along with a public address string below it. When the wallet address is funded and confirmed on the blockchain, the dashboard reflects the updated balance.
To send funds, click the “Send” button. Send funds to just one address, many addresses, or another wallet stored on the Husky device. You can use the webcam on the desktop to scan a QR code, or you can use the keyboard to type in a public address. After that, you may enter the amount you want to transfer (if you input the maximum balance, you’ll receive a warning about subtracting the miner fee from the total amount you intend to send). You’ll receive a payment notification on your device, and after that, you’ll see the transaction details on a confirmation screen. When you click the green “Send” button, a pop-up notice will tell you when the transaction is being signed. If you accept the transaction, the Husky HDW20 screen will display a confirmation screen asking if you’d like to sign it. When you click the green button, you must keep holding it until the hardware device broadcasts the transaction (a notification will indicate when this happens).
Opinion
It was simple to start transactions, and it seemed strange that you’re only asked to save your recovery phrase when choosing to receive money. Typically, when you first activate your device, that’s when you must record your seed words. I guess it’s better late than never!
Security Review
You can set a PIN for accessing the Husky HDW20, and sending funds requires you to sign them on the device for confirmation. According to Husky’s website, the microchip in the device is supposed to countermeasure any software weaknesses.
You can register your email address to be alerted when funds have been sent and confirmed using the hardware.
Opinion
The company’s website does not contain any additional information regarding the security of its device or EAL information (if the firm has complied with EAL standards). Their statement–” every single cryptocurrency hardware wallet that we make includes a unique private key stored at the dedicated chip”–is vague and doesn’t provide any valuable insights about device security.
I find it interesting that the company uses wifi because it’s known to be hackable. The manufacturer’s website does not explain choosing wifi over Bluetooth. From my perspective, a direct wifi connection to your device is a security risk. Most hardware wallets use a Bluetooth or USB connection, providing a little shield against direct online attacks. Plus, Bluetooth connections cover a minimal range, and a hacker would need to be very close to conduct any spying. You can read articles, or perform a Google search, to learn more about the intricacies of Bluetooth vs. wifi security.
Supported Coins
The Husky HDW20 only supports Bitcoin, and there are no advanced features for privacy and connecting with non-custodial wallet interfaces. Bitcoin wallets don’t need advanced options for average bagholders; the Husky device would serve their transaction needs. If you need advanced Bitcoin options, the Coinkite hardware wallet might suit your needs better.
Overall Opinion
The Husky HDW20 hardware wallet provides basic Bitcoin transaction capabilities, but it’s unclear how secure it is. I couldn’t create a PIN. The usage of a passphrase is unavailable (or is it the “recovery phrase” option alluded to in the activation process?). Security details of its cryptography microchip aren’t available. It uses a direct wifi connection.
The wallet’s capabilities might require further explanations. There aren’t many clarifications about available options to activate during the setup process. The seed phrase backup is only available when you’re ready to receive funds. Whether it’s a fact or not, there are no instructions around to clarify. The hardware wallet’s price is off-putting for a Bitcoin-only hard storage device. I think the word “cold storage” in their product description is slightly inaccurate because the device is accessible to the Internet via the wifi connection. Most hardware wallets around the same price offer support for multiple cryptocurrencies. For $149, I’d opt for other crypto devices that aren’t Bitcoin-specific.